These are my lab notes from the Okta Professional Certification hands-on track. This covers the Account Creation Use Cases section: standing up a test directory, writing a group rule driven by custom profile attributes, and adding two app integrations.
Maps to exam: Part II — Account Creation (25%) · See the full lab map on the Okta Professional Cert Study Map or the official study guide.
Lab Setup — Test Tenant
All objects use a CERT prefix to keep them isolated from anything else in the tenant.
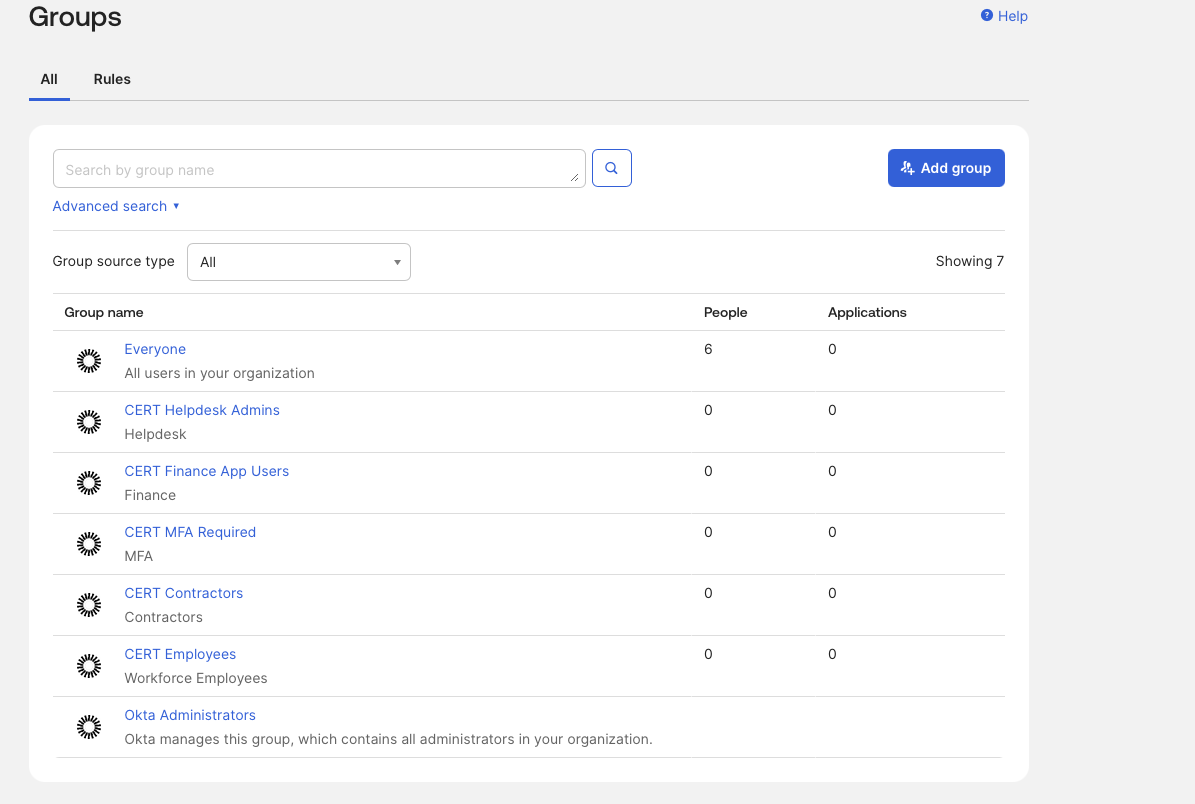
Create Groups
Directory → Groups → Add group
| Group | Purpose |
|---|---|
CERT Employees | All internal employees |
CERT Contractors | External contractors |
CERT MFA Required | Users subject to MFA enforcement |
CERT Finance App Users | Scoped access to the finance application |
CERT Helpdesk Admins | Delegated admin rights |
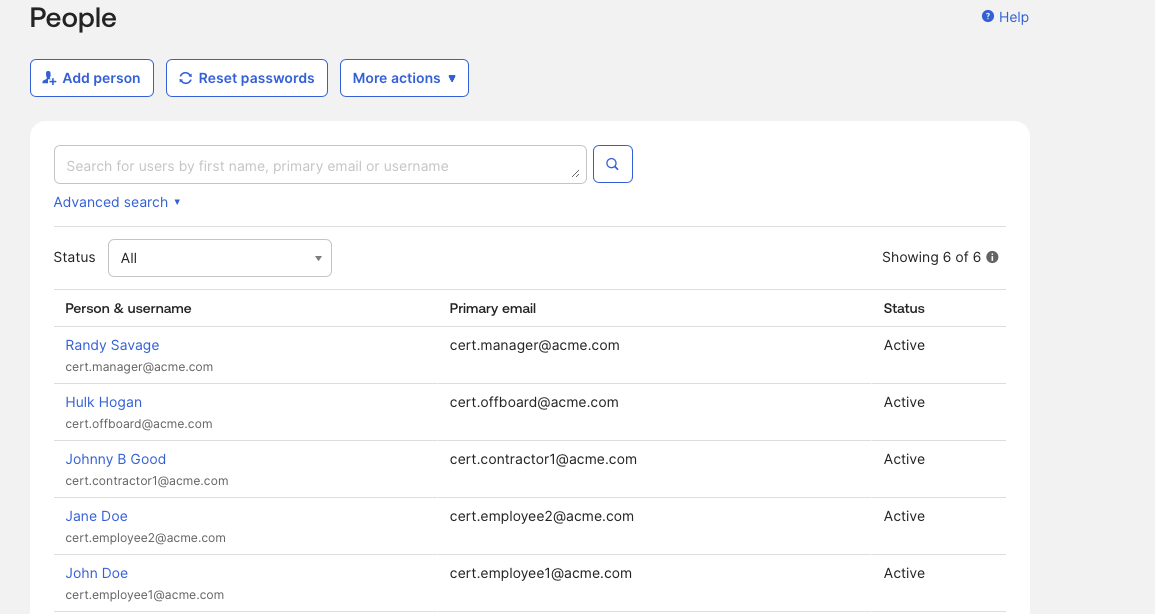
Create Users
Directory → People → Add person
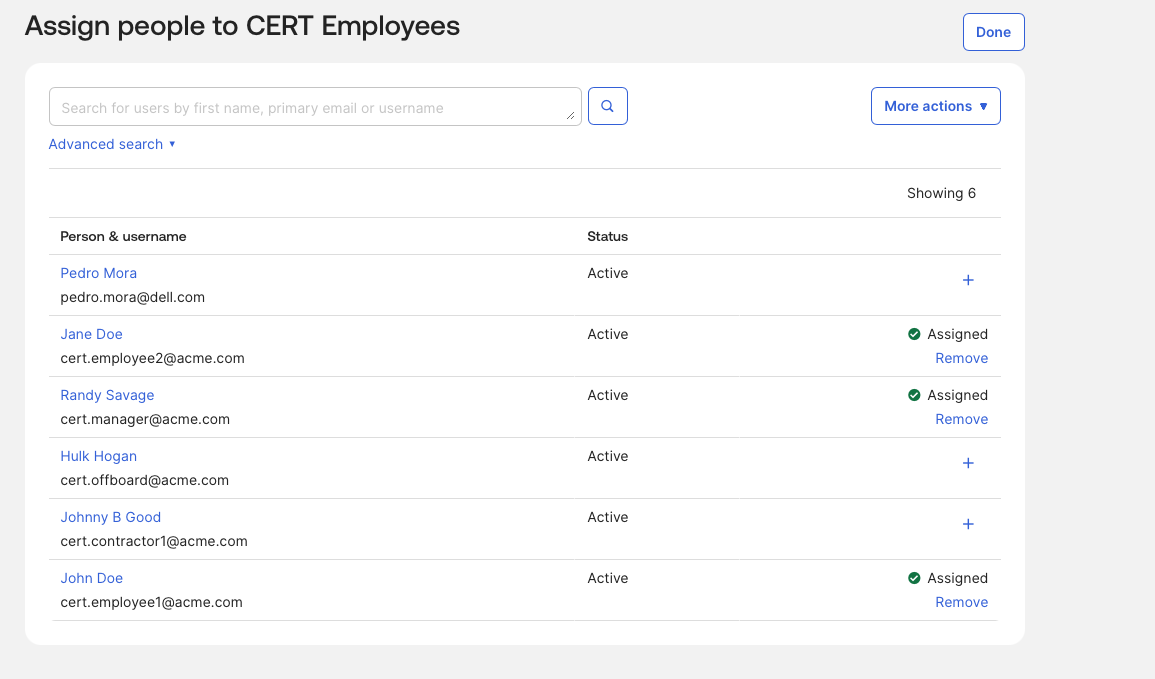
Assign Users to Groups
Directory → Groups → [Group] → Assign people
| Group | Members |
|---|---|
CERT Employees | employee1, employee2, manager |
CERT Contractors | contractor1 |
CERT MFA Required | employee2, contractor1 |
CERT Finance App Users | employee1, manager |
CERT Helpdesk Admins | manager |
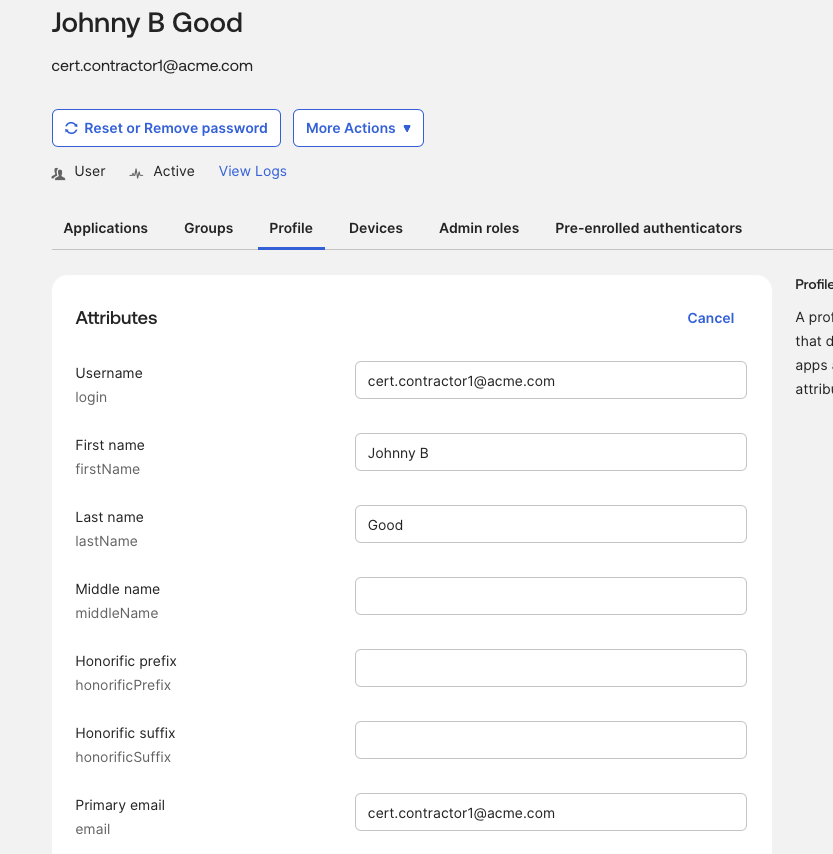
Custom Profile Attributes
Directory → Profile Editor → Okta User Profile
Add three custom attributes:
| Attribute | Type |
|---|---|
certWorkerType | String |
certRegion | String |
certCostCenter | String |
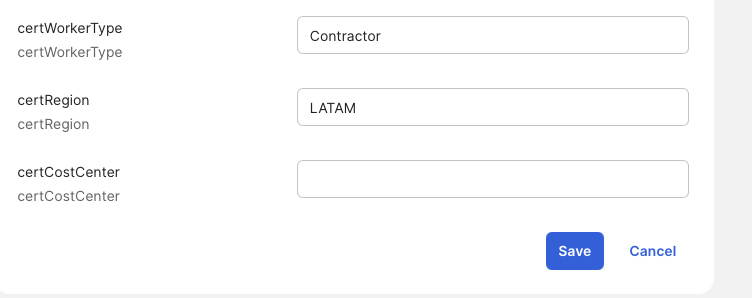
Then update users:
| User | certWorkerType | certRegion |
|---|---|---|
cert.employee1 | Employee | LATAM |
cert.employee2 | Employee | LATAM |
cert.contractor1 | Contractor | LATAM |
Group Rule — Automate Group Membership
Directory → Groups → Rules → Add rule
Rule logic:
IF certWorkerType == "Contractor"
THEN assign to CERT Contractors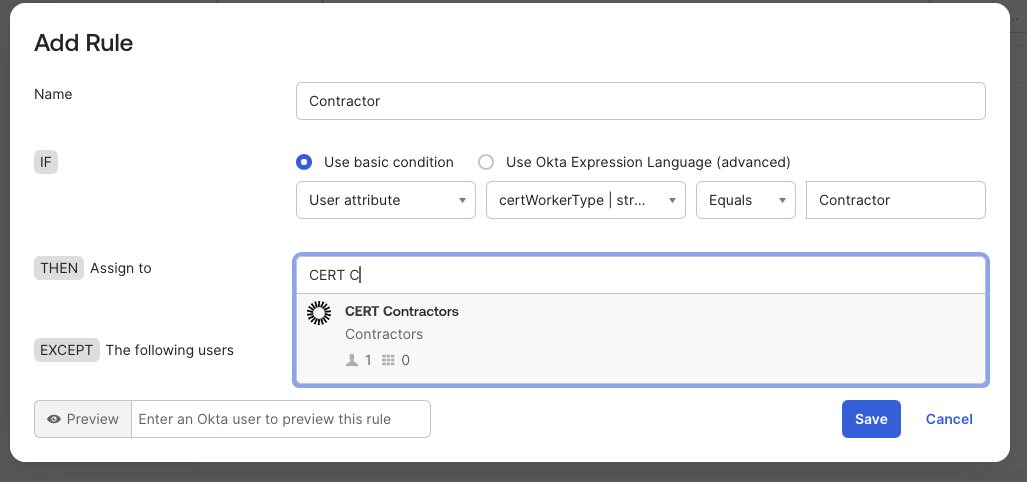
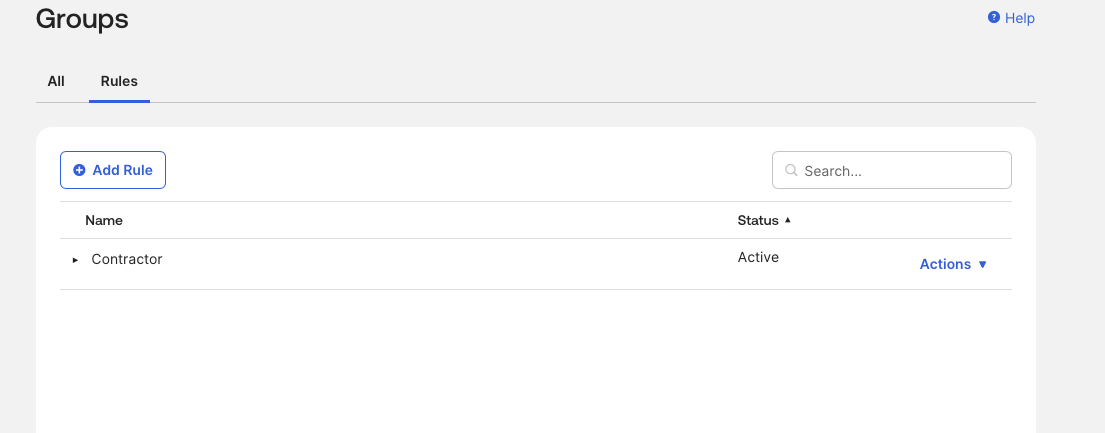
Practice the full rule lifecycle:
- Preview the rule — verify it would match the right users before activating
- Activate the rule
- Change a user’s
certWorkerTypeattribute - Confirm the group membership updated automatically
- Deactivate and reactivate the rule — understand the impact of each state
Group rules are dynamic. The moment an attribute changes, membership updates. This is the foundation of attribute-based access control in Okta.
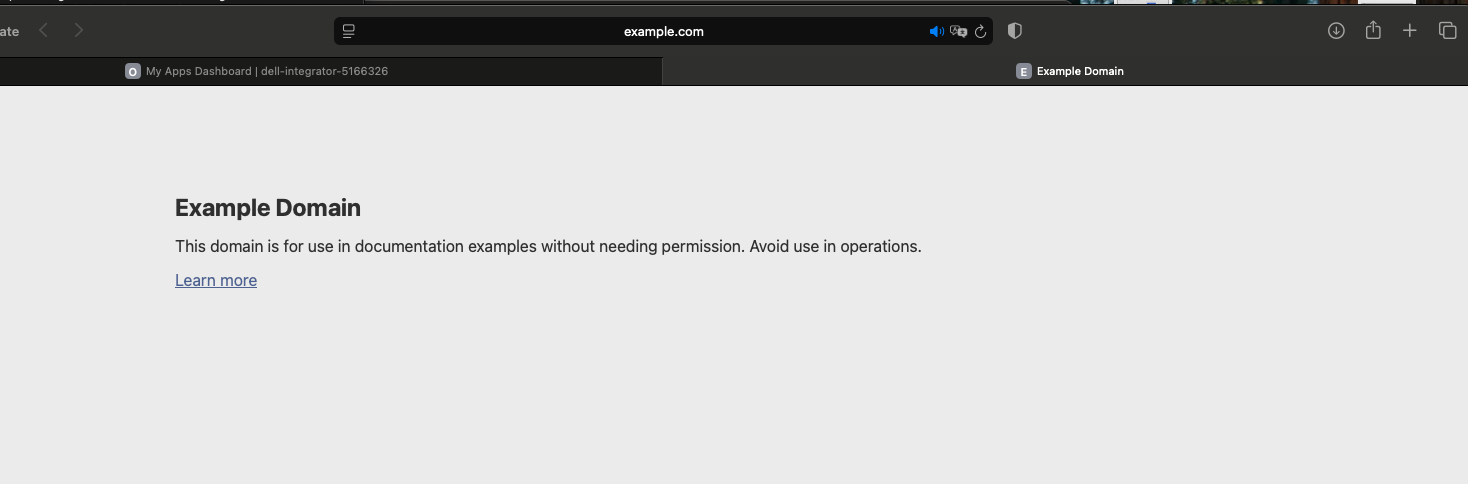
Bookmark App
Applications → Applications → Browse App Catalog → Bookmark App
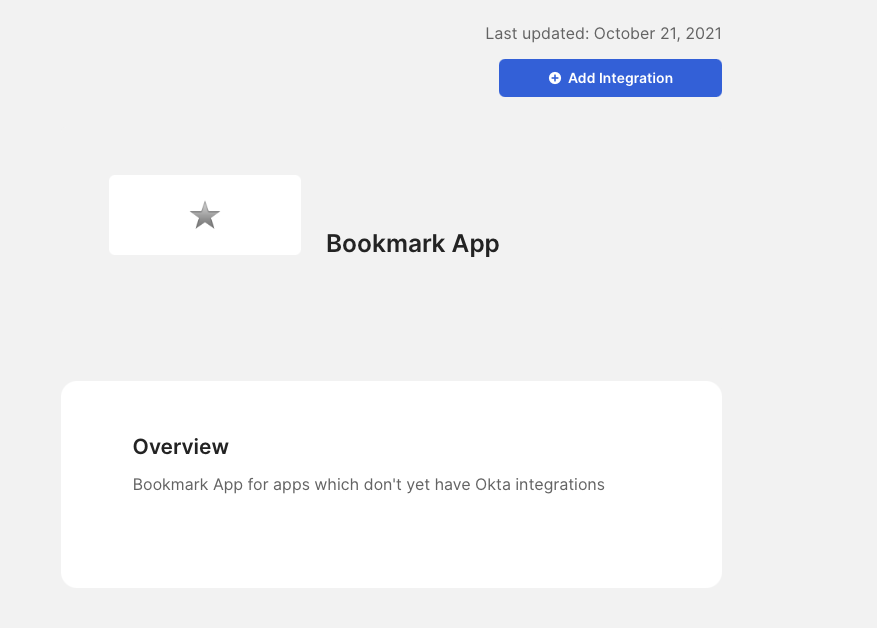

Assign the app to a group:
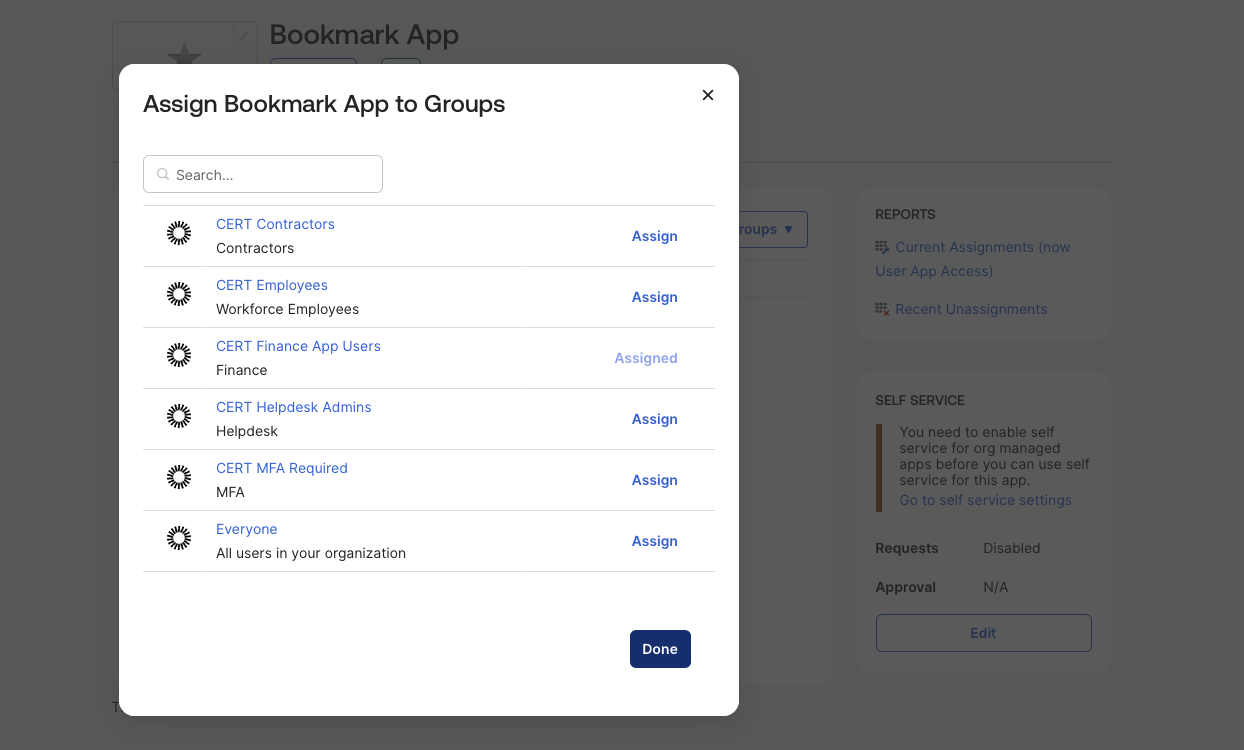
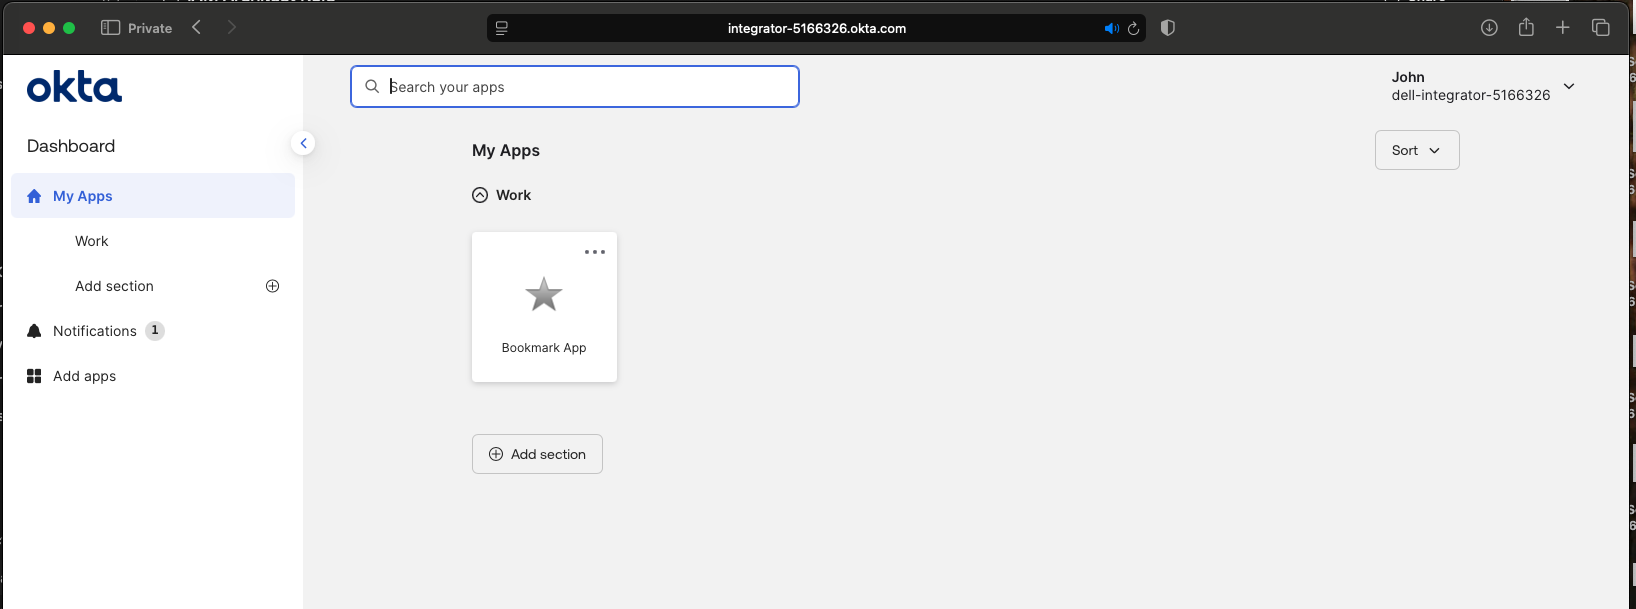
Users in the assigned group see the app in their dashboard. Users outside it don’t.
App access is controlled by group assignment, not by individual user assignment.
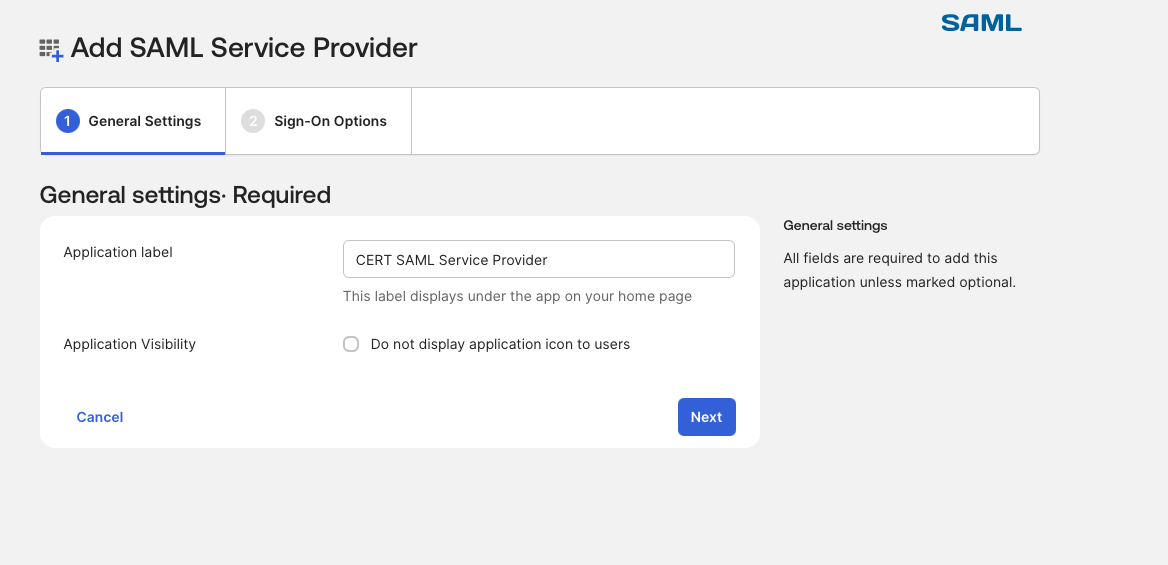
SAML 2.0 App Integration
Applications → Applications → Create App Integration → SAML 2.0

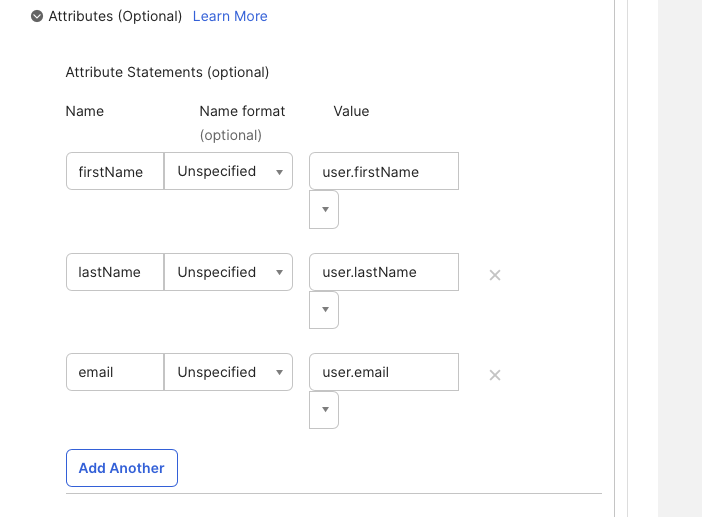
Configure SAML attribute statements:
Why these values work
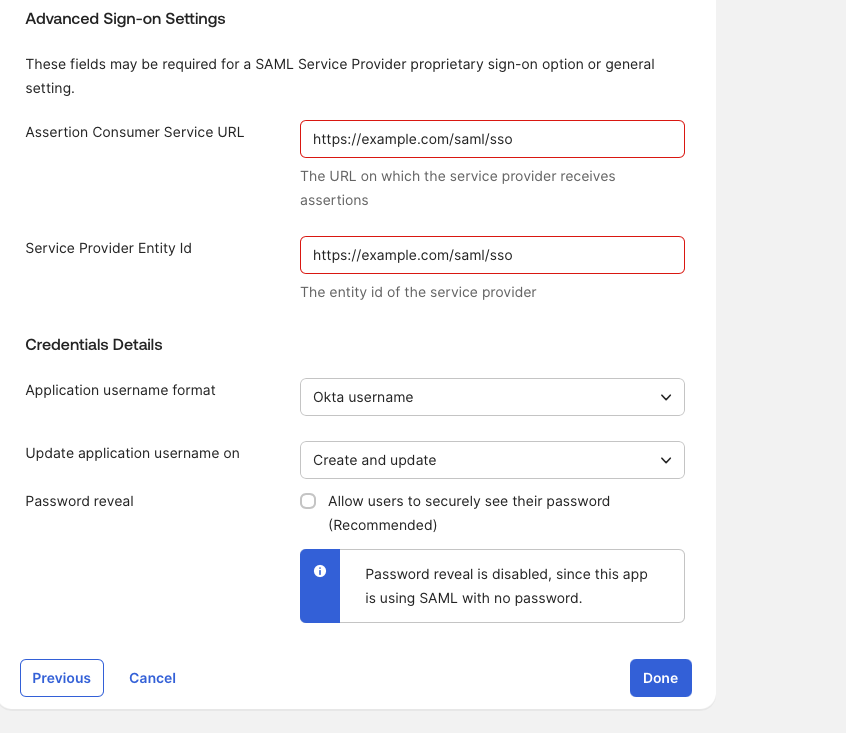
For any real SAML integration, the Service Provider gives you two required values:
| Field | What it is |
|---|---|
| ACS URL | Where the SP receives the SAML response |
| Entity ID | The unique identifier of the SP |
For this cert lab we use fake but structurally valid values — the point is practicing the Okta-side configuration, not building a real integration.
Use Preview SAML before finalizing:
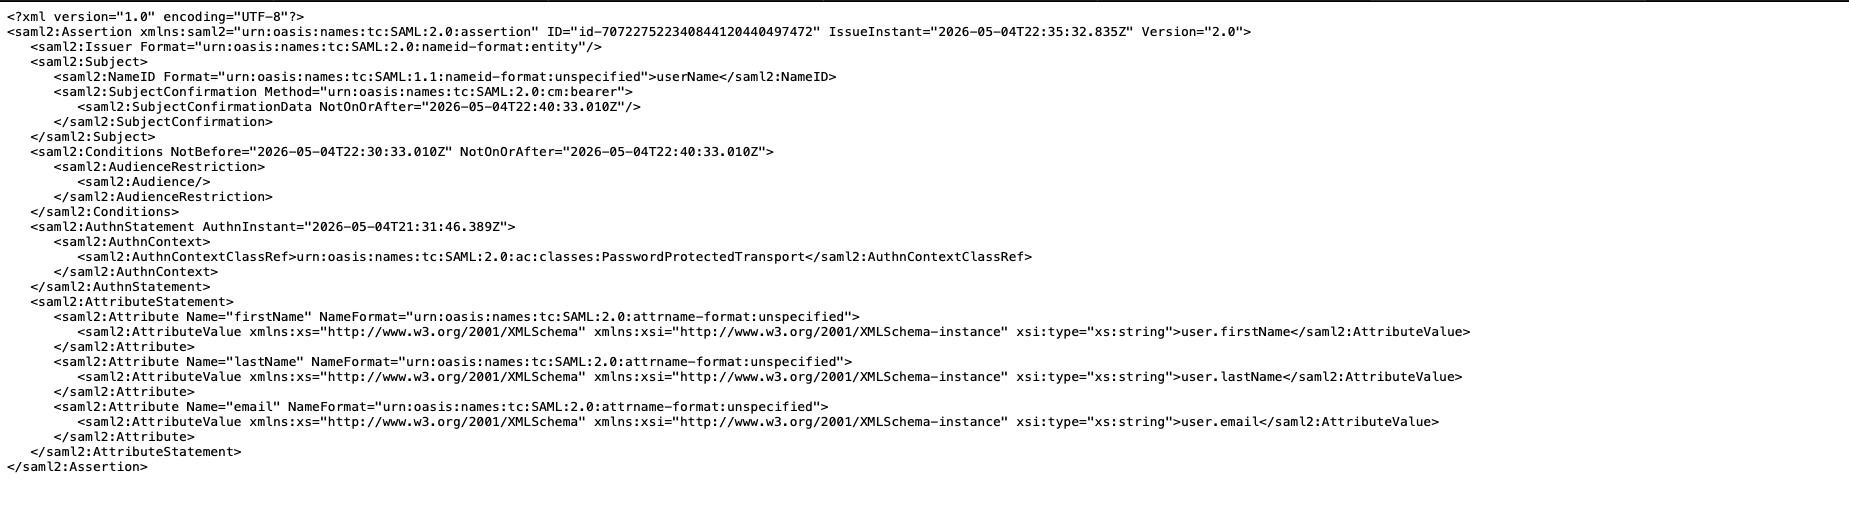
Even with a fake SP, Preview SAML validates that Okta is generating the assertion with the right attributes. Make it a habit before finishing any SAML configuration.

Assign to a group and verify user access:

Key Concepts to Carry Forward
- Groups are the access control layer. Assign apps and policies to groups, not individuals.
- Custom profile attributes power dynamic group rules. Attribute changes propagate automatically.
- Bookmark App = quick SSO shortcut. Useful for linking external URLs into the Okta dashboard.
- SAML app setup always starts from the SP. ACS URL and Entity ID come from the service provider.
- Preview SAML before finishing. Run it every time — it catches misconfigured attribute mappings before they become a support ticket.