These are my lab notes from the Okta Professional Certification hands-on track. The IAMShowcase lab covered Okta as the IdP. This one inverts the flow: a second Okta org acts as the Service Provider and consumes a SAML assertion through an Inbound SAML Identity Provider. Same protocol, opposite seat.
Maps to exam: Part II — Application Setup with OIN (30%) · See the full lab map on the Okta Professional Cert Study Map or the official study guide.
Objective
Build federation between two Okta orgs.
Org1 = Source / IdP
Org2 = Target / SP
End state:
User logs into Org1
→ clicks SAML app
→ lands authenticated in Org2
Architecture
Org1 Custom SAML App
        |
        | SAML Assertion
        v
Org2 Inbound SAML Identity Provider
        |
        v
Org2 Dashboard / Apps
Key Mental Model
Org2 generates:
- Assertion Consumer Service URL
- Audience URI

Org1 consumes those values in the SAML app.

Org1 generates:
- IdP Single Sign-On URL
- IdP Issuer
- X.509 Certificate

Org2 consumes those values in the inbound IdP.
Phase 1 — Create the SAML App in Org1
In Org1:
Applications → Applications → Create App Integration → SAML 2.0
App name:
Inbound SAML to Org2Use placeholders first — you’ll get the real values from Org2 in Phase 4:
| Field | Value |
|---|---|
| Single sign-on URL | https://placeholder.com/sso |
| Audience URI | https://placeholder.com/sp |
| Name ID format | EmailAddress |
| Application username | Email |
Finish with:
This is an internal app that we have createdAssign your Org1 test user to the app.
Phase 2 — Get Org1 IdP Metadata
In Org1:
Applications → Inbound SAML to Org2 → Sign On
Click View SAML Setup Instructions.
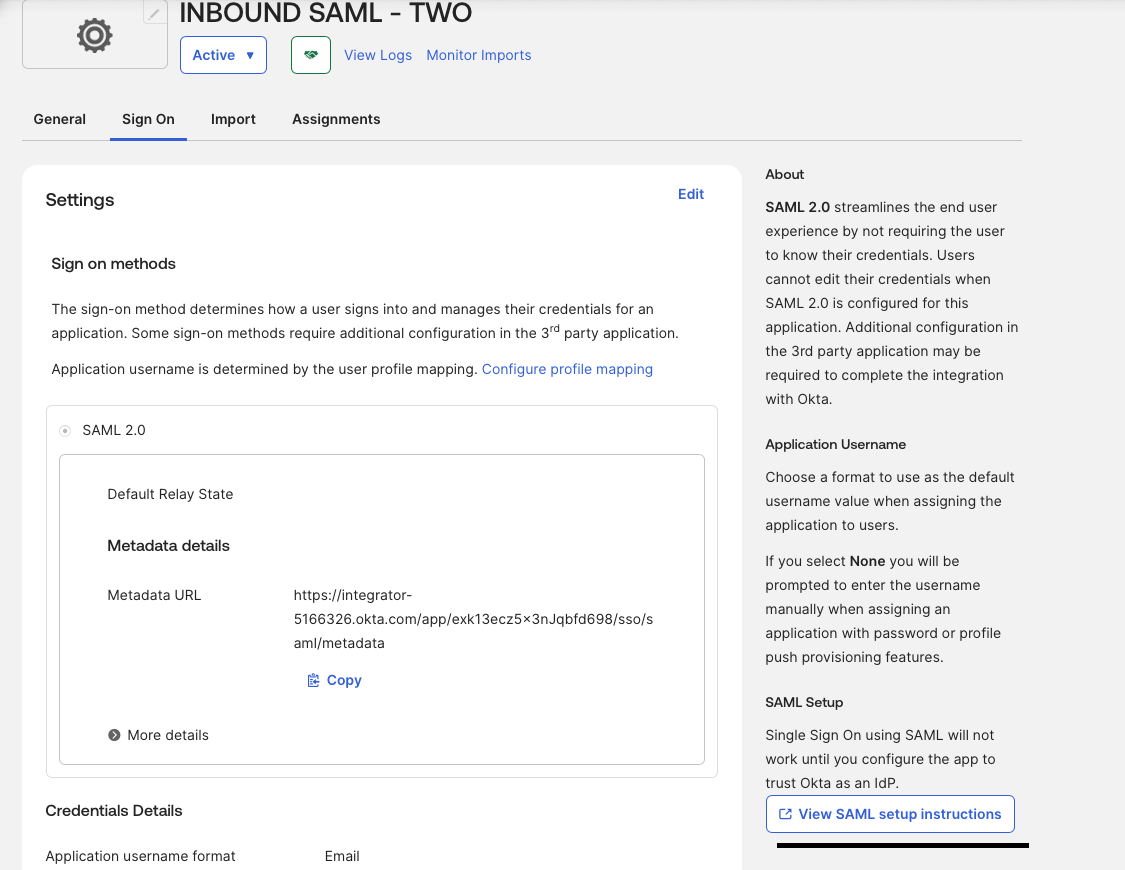
Copy these three values — Org2 needs them in the next phase:
Identity Provider Single Sign-On URL
Identity Provider Issuer
X.509 Certificate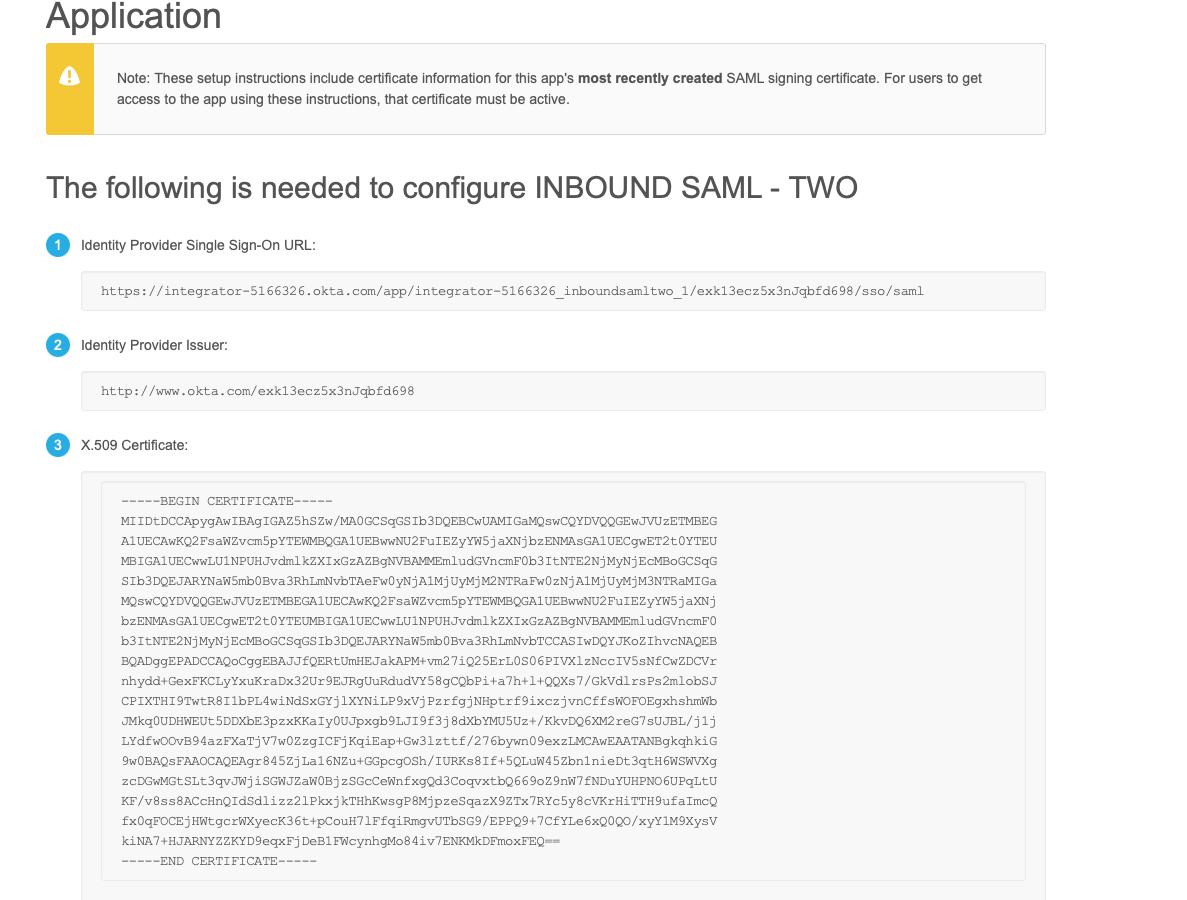
Keep this tab open.
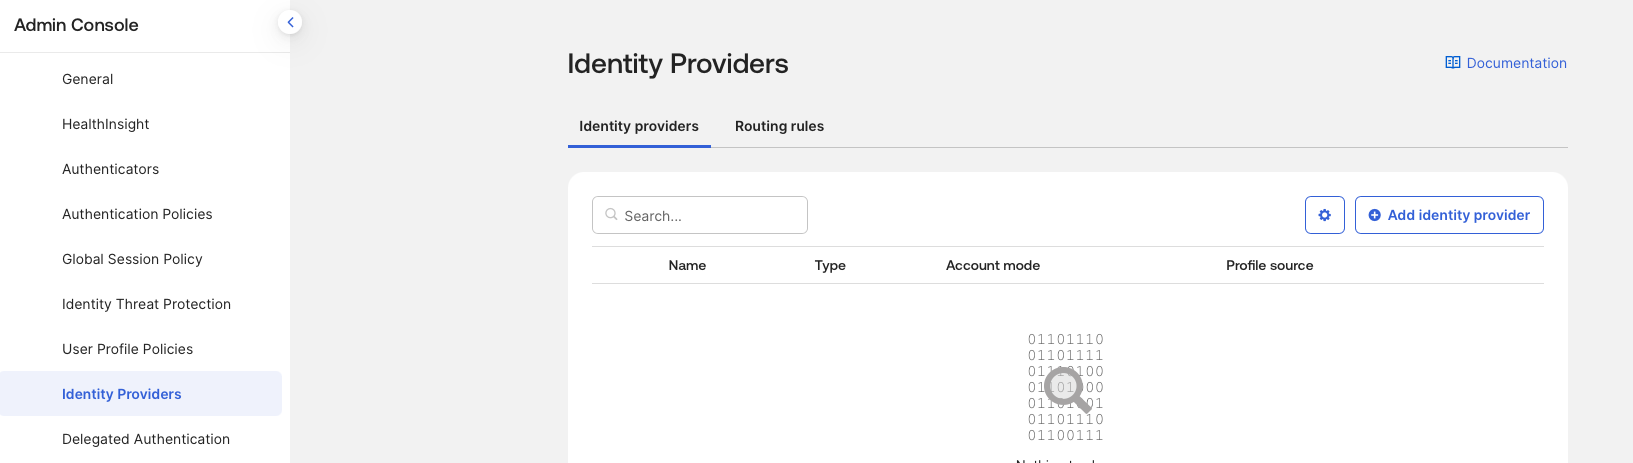
Phase 3 — Configure the Inbound SAML IdP in Org2
1. Create the federation group
In Org2:
Directory → Groups → Add Group
Name: Inbound SAML
Description: Users federated from Org1
2. Create the Identity Provider
In Org2:
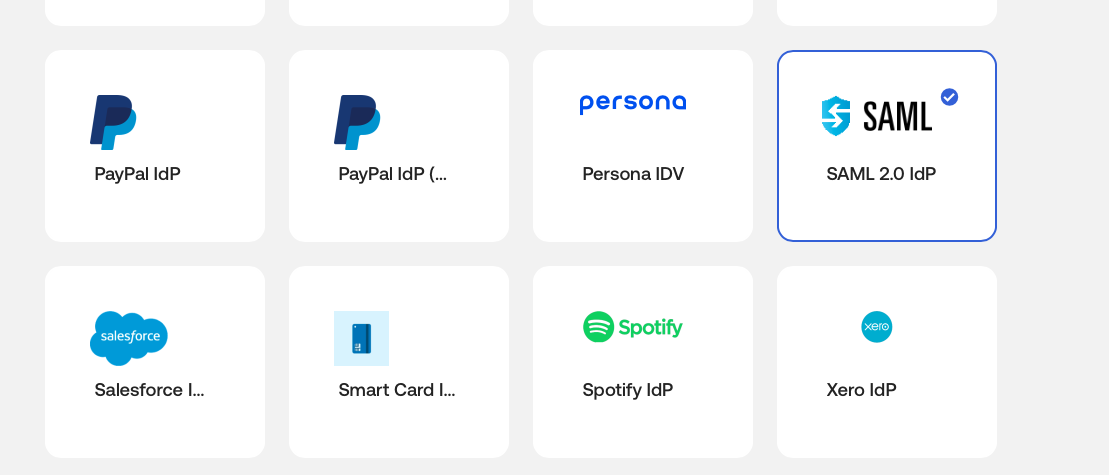
Security → Identity Providers → Add Identity Provider → SAML 2.0 IdP
3. General settings
Name: Org1 Inbound SAML4. Authentication settings
| Setting | Value |
|---|---|
| IdP username | idpuser.subjectNameId |
| Match against | Okta Username |
| Account Link Policy | Automatic |
| If no match is found | Create new user (JIT) |
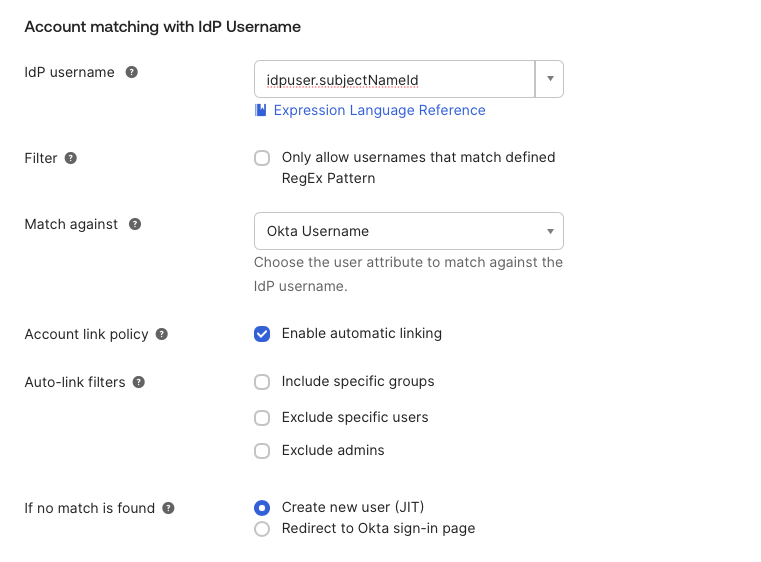
The Automatic account link policy matters — skip it and you’ll get a GENERAL_NONSUCCESS error on first login.
5. Group assignments
Group Assignments: Assign to specific groups
Specific Group:    Inbound SAML
6. SAML protocol settings
Paste the three values from Org1:
IdP Issuer URI:                 <Org1 Identity Provider Issuer>
IdP Single Sign-On URL:         <Org1 Identity Provider Single Sign-On URL>
IdP Signature Certificate:      <Org1 X.509 Certificate>
The certificate downloads as a .cert file. Convert to PEM before upload:
openssl x509 -in okta-3.cert -outform pem -out output_cert3.pem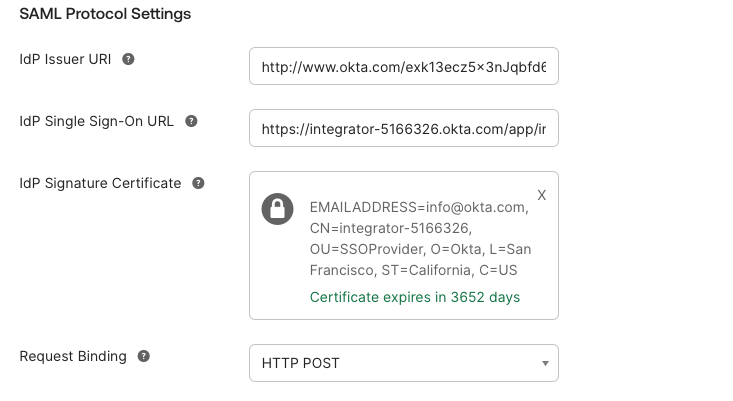
Leave the rest at defaults. Save.
Phase 4 — Copy Org2 SP Metadata
After the Org2 IdP is created, expand it and copy:
Assertion Consumer Service URL
Audience URI
Example format:
Assertion Consumer Service URL:
https://integrator-ORG2.okta.com/sso/saml2/0oa...

Audience URI:
https://www.okta.com/saml2/service-provider/...
Phase 5 — Update the Org1 SAML App
Back in Org1:
Applications → Inbound SAML to Org2 → General → SAML Settings → Edit → Next
Replace the placeholders with the real Org2 values:
Single sign-on URL:  <Org2 Assertion Consumer Service URL>
Audience URI:        <Org2 Audience URI>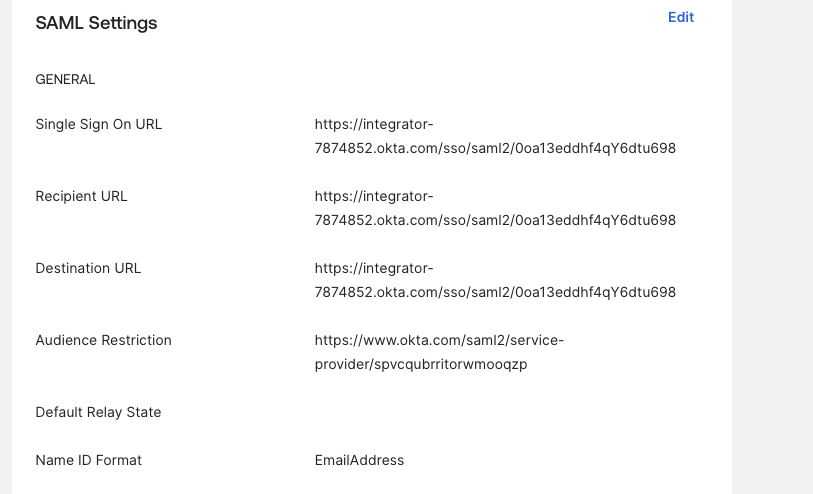
Make sure this is checked:
Use this for Recipient URL and Destination URLKeep:
Name ID format:        EmailAddress
Application username:  Email
Phase 6 — Add the JIT Attributes
Org2 will create a brand-new user on first login if no match exists. For that user to land complete, Org1 has to send the attributes Okta needs.
In the Org1 SAML settings, add:
| Name | Name format | Value |
|---|---|---|
firstName | Unspecified | user.firstName |
lastName | Unspecified | user.lastName |
email | Unspecified | user.email |
login | Unspecified | user.login |
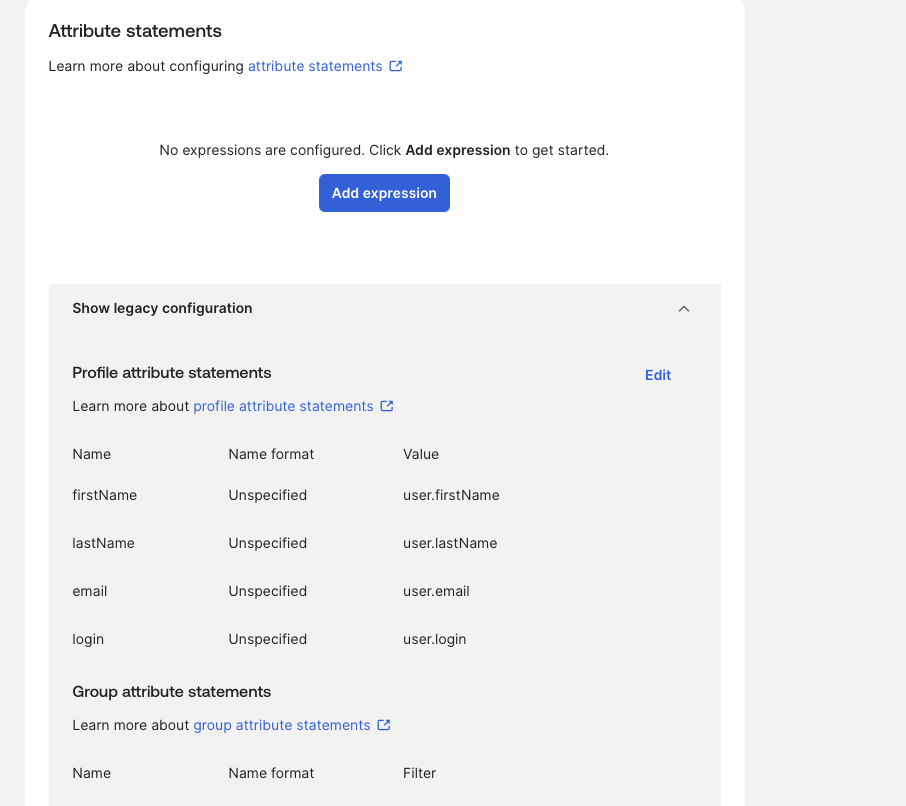
Save: Next → Finish.
Phase 7 — Test Federation
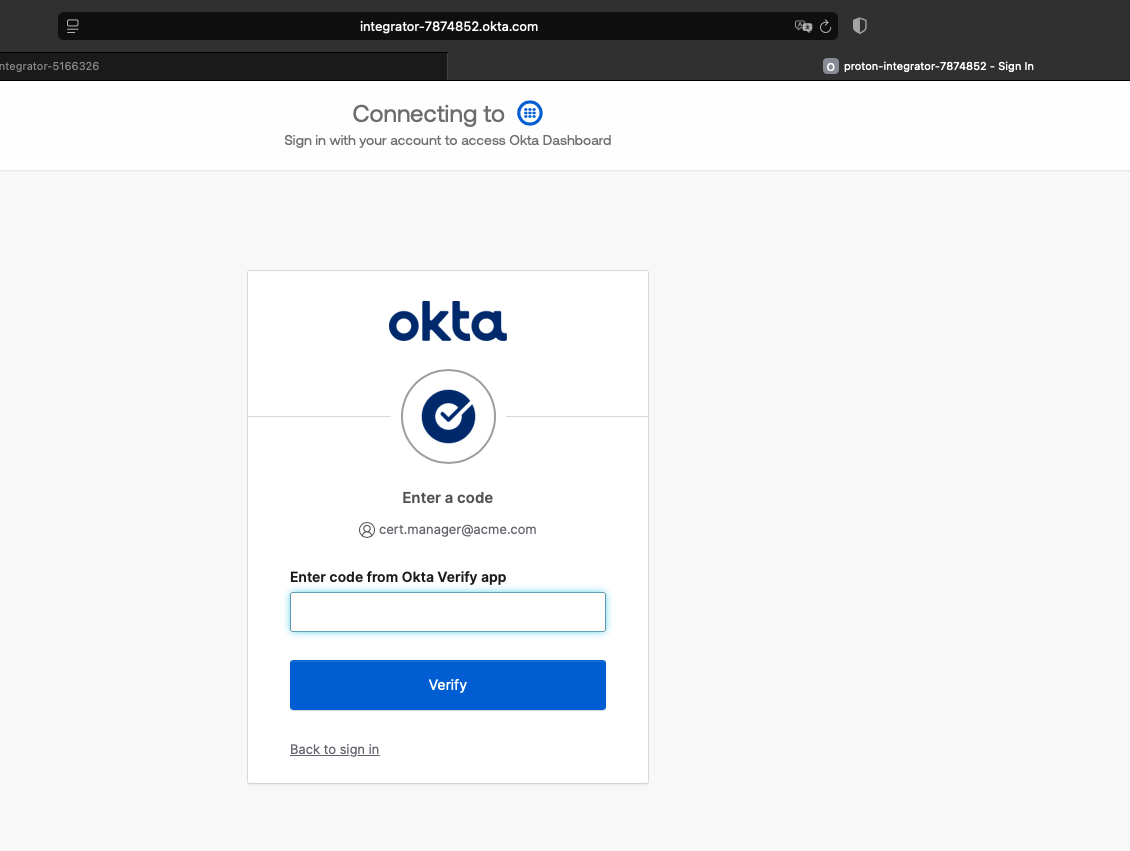
Open an incognito/private browser. Go to the Org1 end-user dashboard. Log in as the assigned Org1 user.
Click:
Inbound SAML to Org2Expected result:
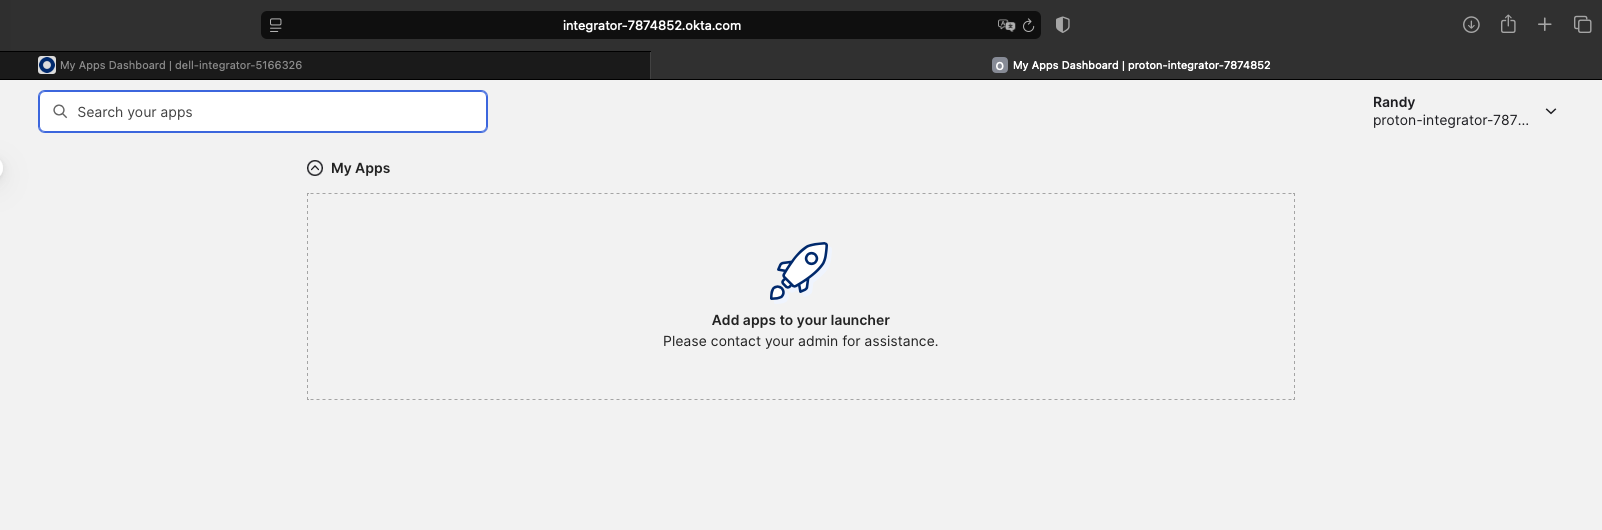
User lands authenticated in Org2 dashboard.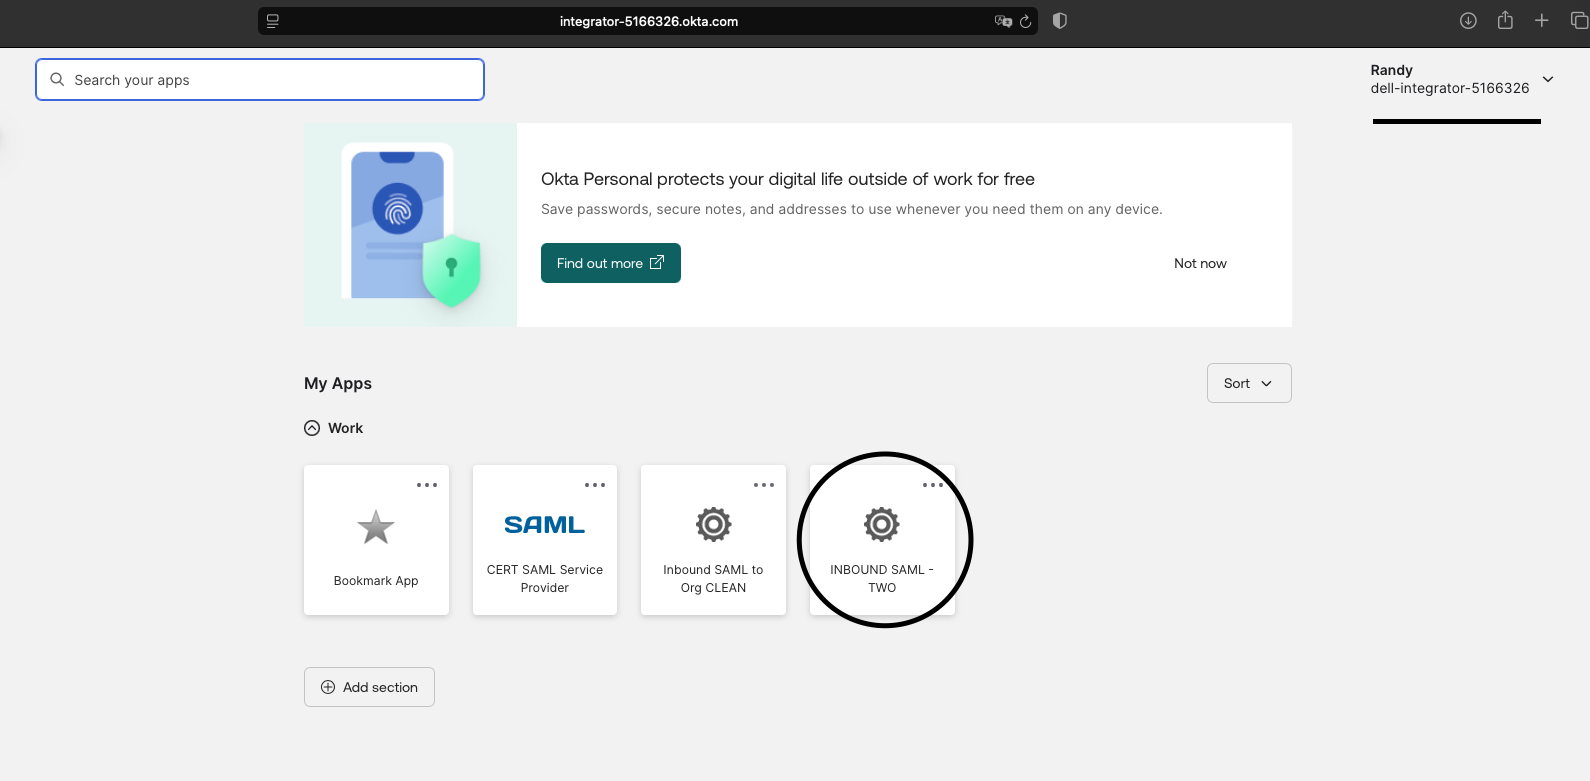
If the dashboard is empty, that’s fine — federation worked but the user has no Org2 apps assigned yet.
If you forgot Automatic linking in Phase 3.4, you’ll see this instead:
Go back and fix the IdP config — that single setting is the most common gotcha in this lab.
Success Criteria
You’re done when both system logs tell the same story:
Org1 System Log:
  User single sign-on to app = SUCCESS

Org2 System Log:
  Authenticate user via IDP = SUCCESS

Org2:
  Federated/JIT user exists or user session is active
Common Errors
GENERAL_NONSUCCESS
Check the Org2 System Log first — the message tells you which validation failed.
Cause: Audience mismatch
Log message:
The Identity Provider specified Conditions, but did not designate us
as the target for these conditions.
Fix: Org1 Audience URI must exactly match Org2 Audience URI.
Cause: Wrong ACS URL
Fix: Org1 Single sign-on URL must exactly match Org2 Assertion Consumer Service URL.
Cause: Missing JIT attributes
Fix: Add firstName, lastName, email, login attribute statements.
Cause: NameID mismatch
Fix:
Name ID format       = EmailAddress
Application username = Email
Cause: Wrong app launched
Fix: Confirm the dashboard tile is the same app you edited. Check the app ID in the URL and the System Log event.
Debugging Workflow
Use this order. Each step rules out a class of failure before moving to the next.
1. Org1 System Log
   - Did the app launch succeed?

2. Org2 System Log
   - Did Org2 receive the assertion?
   - What exact validation error appears?

3. Validate ACS URL
   - Org1 SSO URL = Org2 ACS URL

4. Validate Audience URI
   - Org1 Audience URI = Org2 Audience URI

5. Validate NameID
   - EmailAddress + Email

6. Validate JIT attributes
   - firstName
   - lastName
   - email
   - login
What This Lab Teaches
| Concept | Where it shows up |
|---|---|
| SAML federation | Phase 1 + Phase 7 end-to-end |
| Inbound IdP configuration | Phase 3 |
| SP metadata (ACS URL, Audience URI) | Phase 4 → Phase 5 |
| IdP metadata (Issuer, SSO URL, certificate) | Phase 2 → Phase 3.6 |
| JIT provisioning | Phase 6 |
| Account linking | Phase 3.4 |
| System Log troubleshooting | Common Errors + Debugging Workflow |
Final Mental Model
The SP tells the IdP where to send the assertion and who the assertion is for.
ACS URL = where to send it. Audience URI = who it is for.
The IdP tells the SP how to trust the assertion.
Issuer = who sent it. SSO URL = where auth comes from. Certificate = how signature is validated.
Once that mapping is locked in, every SAML lab in the exam — inbound or outbound — is the same conversation with different chairs.